When the evening and the sunlight is filtered in the kitchen its warm light invites me to make a creamy and tasteful treat. And for today I have a very special and super simple recipe for an Easy Chocolate Malt Ice Cream Recipe – Ninja Creami Recipe. This recipe will give you a TRUE chocolate malt experience with no need for any churning, as the Ninja Creami will handle all the work.

This no-churn ice cream recipe is simple to prepare. It delivers a creamy, rich, and indulgent texture. The addition of malt powder adds a unique flavor, taking you back to classic milkshakes.
Whether you’re an ice cream enthusiast or new to homemade treats, this Ninja Creami recipe is a family favorite.
Why You’ll Love This Easy Chocolate Malt Ice Cream Recipe – Ninja Creami Recipe
Making your own chocolate malt ice cream at home is a joy. You get to control the flavors and make a delicious treat. The Ninja Creami makes it easy for beginners to make top-notch homemade ice cream recipes.
Health Benefits of Homemade Ice Cream
When you make chocolate malt ice cream yourself, you choose what goes in it. You can skip the bad stuff in store-bought ice cream. Use fresh dairy, natural sweeteners, and the best cocoa powder instead.
Time and Cost Savings
Making Ninja Creami recipes at home is healthier and cheaper. The Ninja Creami is a smart buy. It lets you make lots of your favorite flavors without spending a lot.
Customization Options
One great thing about making your own chocolate malt ice cream is you can make it just how you like it. The Ninja Creami helps you get the perfect texture. You can also add your favorite toppings or sauces for a special treat.
So, why not try making your own chocolate malt ice cream with the Ninja Creami? You’ll make tasty, personalized treats. Plus, you’ll enjoy all the benefits of making ice cream at home.
Essential Ingredients for Your Chocolate Malt Ice Cream Recipe
Making the perfect chocolate malt ice cream needs the right ingredients. Whether you’re new to ice cream making or experienced, knowing the key ingredients is crucial. This ensures your ice cream is rich, creamy, and irresistible. Let’s explore the must-have ingredients for your malt milkshake-inspired treat.
The heart of this recipe is the chocolate malt flavor. You’ll need cocoa powder, malt powder, and high-quality chocolate. Cocoa powder gives the deep chocolate taste, while malt powder adds the malted milk flavor. Melted chocolate or chocolate chips make it even richer and more indulgent.
Dairy is essential for any homemade ice cream recipes. For this chocolate malt ice cream, use heavy cream and whole milk. Heavy cream makes it luxurious and velvety, while milk adds sweetness and smoothness.
To get the perfect texture, add a few key ingredients. Sweetened condensed milk makes it creamy and scoopable. Eggs or egg yolks give it structure and a custard-like texture. Vanilla extract enhances the flavor.
With these ingredients, you’re on your way to making an amazing chocolate malt ice cream. It will delight your taste and you will never have enough of.
| Ingredient | Purpose |
|---|---|
| Cocoa Powder | Provides the deep, chocolatey base |
| Malt Powder | Adds the distinctive malted milk flavor |
| Chocolate (melted or chips) | Enhances the overall richness and indulgence |
| Heavy Cream | Contributes to the luxurious, velvety mouthfeel |
| Whole Milk | Adds sweetness and smoothness |
| Sweetened Condensed Milk | Provides a rich, creamy base and helps with scoopability |
| Eggs or Egg Yolks | Contribute structure and a dense, custard-like texture |
| Vanilla Extract | Enhances the overall flavor profile |
Kitchen Tools and Equipment Needed
To make the perfect easy chocolate malt ice cream recipe, you’ll need some key tools. The Ninja Creami is the main piece, but you’ll also need other items. These tools help make the ice cream making process smoother and ensure great results.
Ninja Creami Specifications
The Ninja Creami is a compact ice cream maker that can make up to 16 ounces at a time. It has a built-in compressor for quick freezing and a control panel with easy settings. The bowl and paddle are easy to clean, and it comes in several colors to match your kitchen.
Additional Helpful Tools
- Measuring cups and spoons – for accurately portioning out ingredients
- Mixing bowls – for preparing the ice cream base and mixing in any add-ins
- Whisk or hand mixer – to ensure the base is thoroughly combined
- Spatula – for scraping down the sides of the Creami bowl and transferring the finished ninja creami recipes to a storage container
- Airtight storage container – to keep your homemade ice cream fresh and flavorful
While the Ninja Creami does most of the work, these tools make the process easier. With the right equipment, you’ll be making delicious homemade ice cream in no time.
Easy Chocolate Malt Ice Cream Recipe Ninja Creami Recipe – Step-by-Step Guide
Discover the joy of making easy chocolate malt ice cream with the Ninja Creami. This guide will show you how to make this tasty frozen treat easily.
- Gather your ingredients: heavy cream, whole milk, granulated sugar, cocoa powder, and malted milk powder.
- In a medium-sized bowl, whisk together the heavy cream, milk, sugar, cocoa powder, and malted milk powder until well combined.
- Pour the mixture into the Ninja Creami bowl, making sure it’s evenly distributed.
- Attach the Ninja Creami lid and select the “Ice Cream” setting. Allow the machine to run for approximately 20-25 minutes, or until the desired texture is achieved.
- Once the cycle is complete, remove the lid and scoop the homemade ice cream recipes into a freezer-safe container.
- Freeze the ice cream for at least 2 hours until firm, before serve it.
Enjoy your delicious easy chocolate malt ice cream recipe ninja creami recipe. Savor the rich, creamy taste of this homemade treat.
| Ingredient | Quantity |
|---|---|
| Heavy cream | 2 cups |
| Whole milk | 1 cup |
| Granulated sugar | 3/4 cup |
| Cocoa powder | 1/4 cup |
| Malted milk powder | 1/4 cup |
Tips for Perfect Texture and Consistency
Getting the right texture and consistency is key for tasty ninja creami recipe and homemade ice cream recipes. Whether you’re experienced or new to frozen desserts, these tips will help you make perfect ice cream. You’ll get a smooth, creamy, and irresistible treat every time.
Common Texture Problems and Solutions
One big issue with homemade ice cream is iciness or graininess. This can happen for many reasons, like wrong churning, too many ice crystals, or unbalanced ingredients. To fix these problems, make sure to:
- Churn your ice cream mix well until it’s just right before putting it in the Ninja Creami.
- Don’t overchurn, as it can make the ice cream grainy.
- Make sure your ingredients are at the right temperature and mixed well before freezing.
- Adding a bit of alcohol, like vodka or rum, can help prevent ice crystals.
Storage Recommendations
Storing your ninja creami recipe right is crucial for keeping the texture perfect. Here’s how to keep your ice cream at its best:
- Put the ice cream in an airtight container right after churning or using the Ninja Creami.
- Smooth the ice cream’s surface to avoid freezer burn from air.
- Use plastic wrap or parchment paper to cover the ice cream and stop ice crystals.
- Keep the ice cream in the coldest part of your freezer, usually the back, for the best temperature.
- Eat your homemade ice cream within 2-3 months for the best taste and texture.
By using these tips, you’ll make homemade ice cream recipes that are always creamy and smooth. Enjoy every scoop from your Ninja Creami.
Flavor Variations and Mix-in Ideas
The Ninja Creami recipe lets you try many flavors and mix-ins for chocolate malt ice cream and other indulgent sweets. That is a good way to get your fix of sweets.
Want to spice up your chocolate malt ice cream? Here are some ideas:
- Swirl in peanut butter for a nutty twist
- Fold in crushed Oreo cookies for a cookies and cream delight
- Mix in chunks of your favorite candy bar, such as Snickers or Twix
- Infuse with a touch of cinnamon or espresso powder for a mocha-like flavor
- Blend in fresh or frozen berries, such as raspberries or blackberries, for a fruity touch
- Drizzle in caramel or chocolate sauce for an extra indulgent treat
For a fun and textured chocolate malt ice cream, try these mix-ins:
- Chopped nuts, such as almonds, pecans, or walnuts
- Crushed graham crackers or cookie crumbs
- Shredded coconut or toasted coconut flakes
- Mini chocolate chips or chopped dark chocolate pieces
- Crumbled bacon or candied bacon bits
- Chopped pretzels or crushed pretzel crisps
Play with these Ninja Creami recipes and mix-ins. Make your own special chocolate malt ice cream flavors. They’ll make your taste buds happy.
Troubleshooting Your Ninja Creami Ice Cream
Making homemade ice cream with the Ninja Creami is easy, but sometimes you might run into problems. Don’t worry! We have some expert tips to help you fix any issues and make sure your ice cream turns out great every time.
Machine-Specific Issues
Here are some common problems with the Ninja Creami machine and how to solve them:
- Stuck or jammed pint container: This can happen if the ingredients freeze too hard. Try running the machine on the “Smooth” setting for a minute or two to loosen the contents.
- Noisy or vibrating machine: Make sure the machine is on a level, stable surface and the pint container is in place. If it’s still noisy, check the manufacturer’s instructions.
- Leaking or spilling: Make sure the pint container lid is tight and the machine is level. Too much liquid can cause leaks, so measure your ingredients carefully.
Recipe Adjustments
If your ninja creami recipes aren’t perfect, try these tips:
- Icy or grainy texture: Add more fat, like heavy cream, or a tablespoon of vodka or rum to your easy chocolate malt ice cream recipe ninja creami recipe.
- Too soft or melty: Use less liquid or add more sweetener to make it firmer and scoopable.
- Flavor not pronounced enough: Add more cocoa powder, malt extract, or your favorite mix-ins to enhance the flavor.
The Ninja Creami is very versatile. With a little experimentation, you can make your own tasty frozen treats.
Serving Suggestions and Presentation Ideas
Your chocolate malt ice cream is a treat that deserves to be shown off. You can make it even more special with creative serving ideas and presentation. From classic sundae toppings to modern plating, there are many ways to make your ice cream stand out.
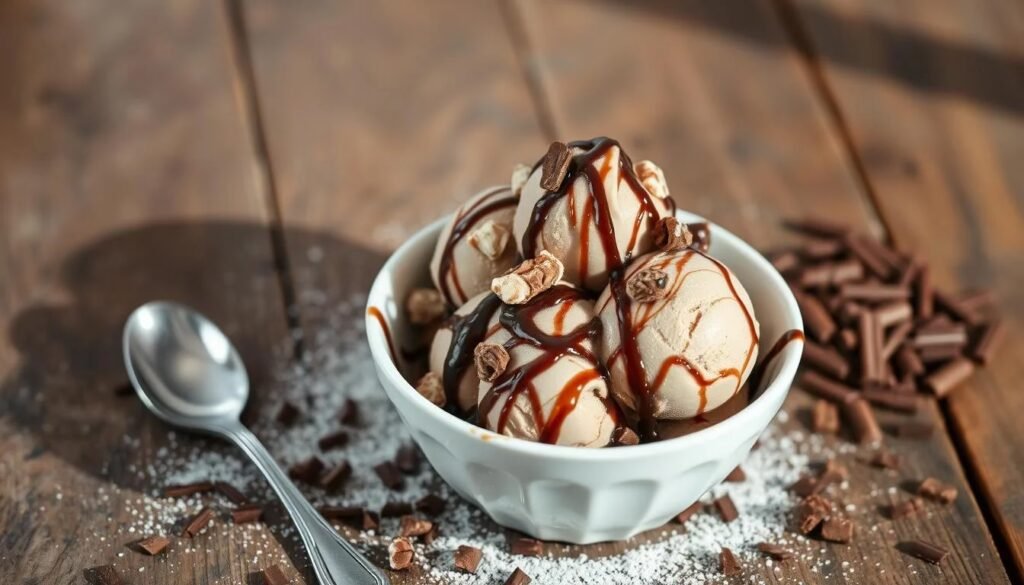
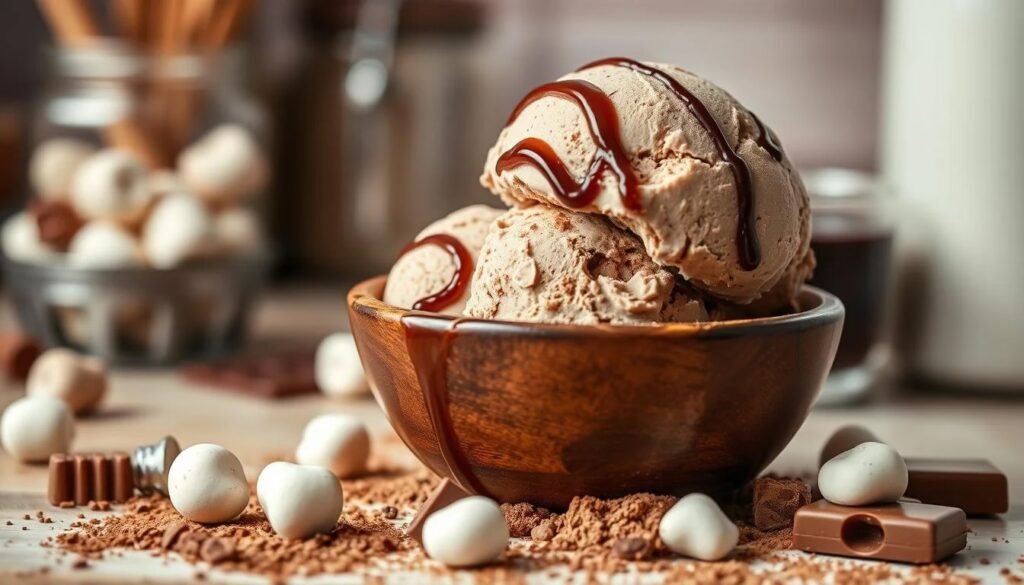
Try different toppings to match the ice cream’s rich flavor. Whipped cream, chocolate syrup, nuts, and crushed malt balls are great choices. For a fancy touch, layer it with chocolate cookies or sprinkle shaved chocolate on top.
Be creative with your serving dishes. Glass dishes or ramekins highlight the ice cream’s smoothness. Tall parfait glasses add a touch of elegance. Arrange the ice cream with toppings for a stunning dessert.
At a summer party, serve the ice cream in fun ways. Use waffle cones or a white chocolate bowl for a unique touch. Freezing it in popsicle molds makes for a cool, easy treat.
Enjoying your chocolate malt ice cream is the most important thing. With a bit of creativity, you can turn a simple scoop into a memorable dessert for your guests.
Creative Serving Suggestions
- Whipped cream
- Chocolate syrup
- Chopped nuts
- Crushed malt balls
- Crumbled chocolate cookies
- Shaved chocolate
Presentation Ideas
- Individual glass dishes or ramekins
- Tall parfait glasses
- Waffle cones
- White chocolate bowls
- Popsicle molds
| Serving Style | Advantages | Considerations |
|---|---|---|
| Sundae-inspired | Classic, indulgent look and feel | Requires additional toppings and sauces |
| Individual servings | Portion control, elegant presentation | More time-consuming to prepare |
| Popsicle or “edible container” | Fun, portable, unique serving method | Requires special molds or containers |
Make-Ahead and Storage Guidelines
Preparing your homemade ice cream recipes doesn’t end when you churn the ice cream. Planning ahead and storing your frozen desserts right can keep a cool treat ready for you. Let’s look at the best ways to make ahead and store your easy chocolate malt ice cream recipe Ninja Creami.
Make-Ahead Tips
You can make the ice cream base up to 3 days before. Just mix the base, then put it in an airtight container in the fridge. When you’re ready, add it to your Ninja Creami and churn as directed.
Proper Storage
- After churning your easy chocolate malt ice cream recipe Ninja Creami, put it in an airtight container and freeze for up to 2 months.
- Press plastic wrap on the ice cream’s surface before sealing to avoid ice crystals and keep it creamy.
- Let the ice cream soften at room temperature for 5-10 minutes before scooping.
| Storage Method | Shelf Life |
|---|---|
| Refrigerated ice cream base | Up to 3 days |
| Frozen homemade ice cream recipes | Up to 2 months |
By using these easy make-ahead and storage tips, you can enjoy your easy chocolate malt ice cream recipe Ninja Creamiwhenever you want. Enjoy the ease of frozen desserts made at home!
Conclusion
In this guide, we’ve shown you how to make your own easy chocolate malt ice cream recipe with the Ninja Creami. You now know the key ingredients and steps to make a creamy, indulgent homemade ice cream. This ice cream will wow your family and friends.
The easy chocolate malt ice cream recipe Ninja Creami is simple and convenient. It’s great for saving time and money, and you can customize it to your liking. This recipe lets you control your dessert and try new flavors.
As you explore more homemade ice cream recipes, remember to have fun and be creative. Enjoy every bite of your homemade ice cream. The Ninja Creami makes it easy to make this easy chocolate malt ice cream recipe and enjoy its rich flavors.
So, what are you waiting for? Get your Ninja Creami ready, grab the ingredients, and start making this easy chocolate malt ice cream recipe Ninja Creami. It’s a delicious adventure in your kitchen that will impress everyone.
FAQ
What is the key difference between this chocolate malt ice cream recipe and traditional ice cream?
This recipe uses the Ninja Creami machine. It lets you make ice cream at home without a special machine. The Ninja Creami makes the ice cream rich and creamy, fast and easy.
What ingredients are needed for the chocolate malt ice cream?
You’ll need heavy cream, milk, sugar, malt powder, cocoa powder, and a bit of salt. These simple ingredients mix together to create a delicious chocolate malt flavor.
How long does it take to make the chocolate malt ice cream?
Making the ice cream is quick, taking less than 15 minutes. The Ninja Creami does most of the work. After that, it takes about 2-3 hours to freeze and churn.
Can I customize the chocolate malt ice cream recipe?
Yes! The Ninja Creami makes it easy to try new flavors. You can add things like chocolate chips, cookies, or peanut butter swirls. You can also change the recipe to make different flavors like chocolate chip or mocha.
How do I ensure the perfect texture when making ice cream in the Ninja Creami?
For the best texture, follow the recipe carefully, especially the liquid-to-solid ratio. Chill the mixture well before using the Ninja Creami. Also, keep the ice cream in an airtight container to keep it creamy.
Can I make the chocolate malt ice cream in advance?
Yes, you can make the base up to 3 days ahead and chill it. The finished ice cream can be frozen for up to 2 months. It’s a great option for ahead-of-time desserts.
What should I do if my Ninja Creami ice cream isn’t turning out as expected?
If the ice cream is grainy or not freezing right, check the Ninja Creami guide. Try adjusting the ingredients or freezing time. If problems persist, contact Ninja customer service for help.
Where to Buy the Ninja Creami?
If you’re ready to make your own homemade ice cream, you can find the Ninja Creami and other Ninja products at Ninja’sOfficial Amazon Store.


